内核版本:
1 | # uname -a |
驱动设置
找到要使用的驱动程序ath0
1 | # sysctl net.wlan.devices |
可以通过下面的命令找到相应的硬件:
1 | # pciconf -lv ath0 |
加载模块,修改 /boot/loader.conf 后reboot重启
1 | # cat /boot/loader.conf |
无线AP设置
加载无线网络支持后,检查无线设备是否支持基于主机的接入点模式,也称为hostap模式:
1 | # ifconfig wlan0 create wlandev ath0 |
这里打印了 HOSTAP,证实了这张无线网卡可以充当AP。还列出了各种支持的加密方式:WEP, TKIP和AES。此信息指示可以在AP上使用哪些安全协议。
无线设备只能在创建网络设备时进入hostap模式,因此必须首先销毁先前创建的设备:
1 | # ifconfig wlan0 destroy |
然后在设置其他参数之前使用正确的选项重新生成:
1 | # ifconfig wlan0 create wlandev ath0 wlanmode hostap |
再次通过ifconfig 查看wlan0接口状态:
1 | # ifconfig wlan0 |
将下面的参数添加到 /etc/rc.conf ,在引导时自动完成配置:
1 | wlans_ath0="wlan0" |
还需要配置WPA2安全协议,这样才能安全运行AP
配置 /etc/hostapd.conf :
1 | # vim /etc/hostapd.conf |
启动hostapd服务
1 | # service hostapd forcestart |
到了这一步移动设备应该可以看到SSID了,也可以对接入点进行身份验证,但是只能通过设置静态IP连接,并且无法连接公网
无线DHCP服务设置
设置DHCP服务器,需要使用DHCPd守护程序监听wlan0接口的ip地址:
安装ISC的dhcpd服务器:
1 | cd usr/ports/net/isc-dhcp44-server/ |
执行上述指令后将出现如下画面
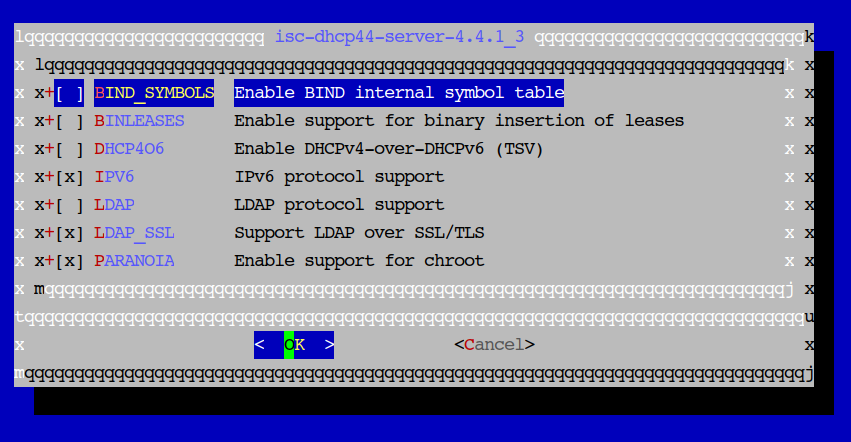
使用默认设置即可
安装完后,在 /usr/local/etc/ 生成dhcpd.conf.sample 和 dhcpd.conf 我们对dhcpd.conf进行修改
1 | # cat usr/local/etc/dhcpd.conf |
启动服务 service isc-dhcpd start 后连接AP,移动设备可以自动获取到ip,但还不能访问网络
1 | # service isc-dhcpd start |
FreeBSD PF防火墙设设置
启动FreeBSD的网关模式,允许数据包从wifi转发到lan口,修改配置 /etc/rc.conf
1 | ## allow packets to be passed from one network interface to another |
保存所需的编辑后,可以通过键入以下内容 来启动PF以获取日志记录支持:
1 | # service pf start |
启用网关数据转发,转发IPV4数据包:
1 | # sysctl net.inet.ip.forwarding=1 #forward IPv4 packets |
注意如果要转发IPV6,在 /etc/rc.conf 中需要添加 ipv6_gateway_enable =“YES”
FreeBSD安装包 示例文件路径: /usr/share/examples/pf/
以下是个简单的Pf防火墙配置,允许所有通过无线网卡的数据包到有线网卡LAN。有线网卡是igb0接口,无线网卡是wlan0接口。
1 | # vim etc/pf.conf |
执行 pfctl -f /etc/pf.conf 刷新过滤器,连接WIFI就可以访问网络了。
无线连接接入完成!
参考文档1:https://www.freebsd.org/doc/handbook/network-wireless.html
参考文档2:https://calomel.org/freebsd_wireless_access_point.html